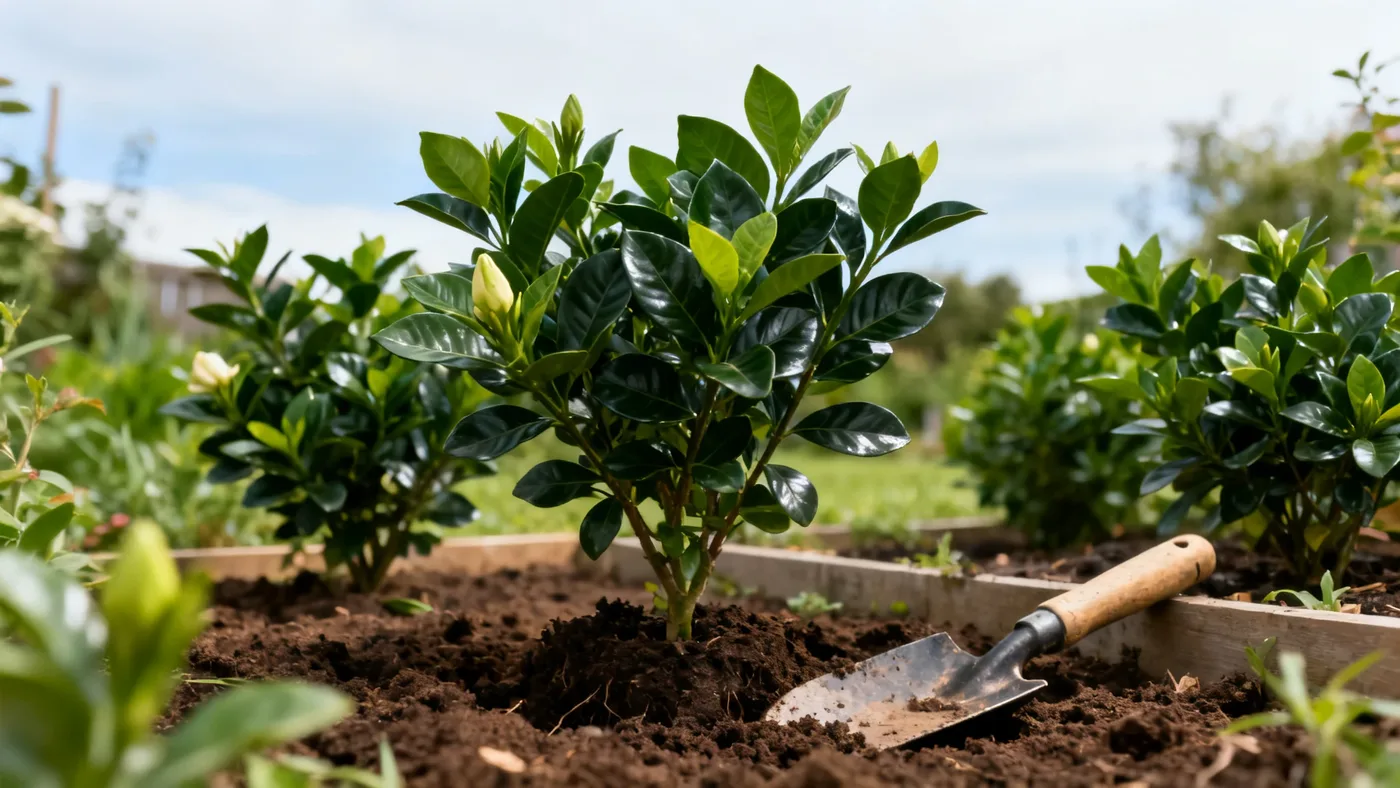
How to Plant August Beauty Gardenia the Right Way
August Beauty Gardenia is a showstopper when planted correctly. The key to success lies in understanding the plant's needs before you dig the hole. This shrub rewards careful site selection and proper soil preparation with years of fragrant white blooms and glossy dark foliage. Whether you're adding a specimen near a patio or creating a low hedge, the fundamentals of planting August Beauty Gardenia remain the same.
Materials and Supplies You'll Need
Before you start digging, gather these items to make the job go smoothly:
- Spade or shovel
- Container-grown August Beauty Gardenia plant (typically sold in quart, #1, or #3 containers)
- Peat moss or compost (3 to 4 cubic feet per plant)
- Soil acidifier or sulfur (if your soil pH is above 6.5)
- Mulch, preferably pine needles or hardwood chips (2 to 3 inches deep)
- Watering can or hose with spray nozzle
- Gardening gloves
- Measuring tape
- Soil test kit or laboratory soil test results
Choosing the Right Location
August Beauty Gardenia thrives in full sun to part shade. In zones 7b through 9, morning sun with afternoon shade is ideal, especially in hot southern climates where afternoon temperatures regularly exceed 90 degrees Fahrenheit. This combination protects the plant from intense midday heat while providing enough light for robust flowering.
Confirm your USDA hardiness zone before planting. August Beauty Gardenia grows best in zones 7b through 10, though zone 7b requires winter protection. If you're on the borderline between zones, choose a sheltered spot on the south or east side of a building or wall where it will stay warmer in winter.
Avoid low-lying areas where cold air settles or where water pools after heavy rain. Poor drainage is a primary cause of root rot in Gardenia. Similarly, don't plant in areas with reflected heat from pavement or structures that could stress the plant during summer.
Testing and Preparing Soil
August Beauty Gardenia demands acidic soil with a pH between 5.0 and 6.5. This is non-negotiable. Without proper soil pH, the plant cannot absorb essential nutrients, and yellowing leaves develop even when nutrients are present in the soil.
Start by taking a soil sample. Collect soil from 4 to 6 inches deep across the planting area, mix it in a clean bucket, and either use a home test kit or send the sample to your local cooperative extension service. The small cost of a professional test prevents costly mistakes later.
If your soil test shows pH above 6.5, apply soil acidifier or sulfur according to package directions at least 2 weeks before planting, or incorporate it into the planting hole. If your soil is very alkaline (pH 7.5 or higher), consider growing August Beauty Gardenia in a large container with acidic potting mix instead.
August Beauty Gardenia also requires soil rich in organic matter. Good drainage is critical; waterlogged soil invites root rot. The ideal planting site has soil that holds moisture without becoming soggy.
Step-by-Step Planting Instructions
Step 1: Timing Your Planting
Plant August Beauty Gardenia in early spring or fall, avoiding extreme summer heat or hard freeze windows. Early spring (March through April in most regions) or fall (September through October) gives the plant time to establish roots before stressful weather arrives. Wait until soil is workable; planting in frozen or waterlogged ground causes root damage.
Step 2: Prepare the Planting Hole
The planting hole should be wider than the root ball but no deeper. Dig a hole approximately 1.5 times the width of the root ball and equal to its depth. If you're planting multiple shrubs, space them 4 to 6 feet apart for specimen plantings or 3 to 5 feet apart if you're creating a hedge.
Loosen the soil in the bottom and sides of the hole so roots can penetrate easily. Compacted soil prevents root establishment and contributes to poor drainage. Break up any clay layers at the bottom of the hole.
Step 3: Amend the Backfill Soil
Remove the excavated soil from the hole and mix it with peat moss or high-quality compost at a ratio of roughly 2 parts native soil to 1 part amendment. This mixture improves both drainage and organic matter content. If your soil test revealed pH above 6.5, add soil acidifier to the backfill mixture according to product directions.
Never use backfill soil straight from the hole without amendment. August Beauty Gardenia's roots need the improved structure and acidity that peat moss or compost provides.
Step 4: Remove the Plant from Its Container
Water the plant thoroughly 1 to 2 hours before planting. Gently remove it from the container by tipping it on its side and sliding the plant out. If the root ball is tightly bound, gently loosen the roots with your fingers or make 3 to 4 shallow vertical cuts on the sides of the root ball. This encourages outward root growth into the amended soil.
Never bury the plant deeper than it was growing in the container. The top of the root ball should be level with or slightly above the existing grade.
Step 5: Place the Plant and Backfill
Center the plant in the hole and position it so the root ball is at the proper depth. Begin filling the hole with your amended soil mixture, pressing gently with your hands as you work to eliminate air pockets. Fill halfway, water thoroughly to settle the soil, then continue filling to grade level.
Avoid stepping on the soil immediately around the plant; this compacts the root zone and impedes drainage. The final grade should be level with the surrounding soil, not mounded above it.
Step 6: Mulch and Water
Apply 2 to 3 inches of mulch around the base of the plant, staying 3 to 4 inches away from the stem. Pine needles or shredded hardwood chips are ideal; both maintain soil acidity. Do not use dyed mulch or mulch that contains dyes or chemical treatments.
Water deeply after planting to settle the soil and eliminate air pockets in the root zone. The plant should receive about 1 inch of water per week during the first growing season, either from rainfall or supplemental watering. Do not allow the soil to dry out completely between waterings, and do not keep it waterlogged.
Tips for Planting Success
Pair August Beauty Gardenia with companion plants that share its preferences: azalea, camellia, boxwood, hosta, and ferns all thrive in acidic soil and shade to part-shade conditions. This creates a cohesive landscape design where all plants have similar cultural needs.
If you're planting in container soil rather than amending in-ground soil, use an acidic potting mix formulated for acid-loving plants such as azaleas and camellias. Never use all-purpose potting mix; it's typically neutral to slightly alkaline.
In zones 7b or cooler, plant August Beauty Gardenia in fall rather than spring to minimize winter damage. The plant may experience some leaf drop or branch damage in its first winter, but established plants tolerate zone 7b with winter protection such as mulch or a shelter.
Don't fertilize at planting time. Wait until spring growth appears, then use an acid-loving plant fertilizer (formulated for azaleas or camellias) applied according to package directions.
Common Mistakes to Avoid
Overwatering is the most frequent mistake. August Beauty Gardenia does not tolerate waterlogged soil. Water deeply but less frequently rather than shallow daily watering. Check soil moisture by pressing your finger 2 inches into the soil; if it feels moist, wait before watering again.
Planting too deep is another common error. The top of the root ball should never be buried below soil level. Deep planting smothers the crown and encourages root rot.
Ignoring soil pH is a costly mistake. A plant showing yellowing leaves and poor growth may be suffering from nutrient deficiency caused by high soil pH, not from lack of fertilizer. Correct the pH, and the plant will improve.
Planting in late summer or early fall in cold zones (7b) can leave the plant vulnerable to winter damage before roots establish. Early fall (September) is safer than late fall.
Placing the plant in full shade prevents flowering. While August Beauty Gardenia tolerates part shade, it needs at least 4 to 6 hours of direct sun daily to bloom reliably. Morning sun is preferable to afternoon sun in hot climates.
Expected Results and Timeline
A container-grown August Beauty Gardenia plant typically blooms within 1 to 2 years of planting if it came already established in the container. First-year growth focuses on root establishment rather than visible size gain.
The plant grows at a moderate rate, adding roughly 6 to 12 inches per year under good conditions. It reaches its full mature size of 4 to 6 feet in height and width in about 5 to 7 years. Don't expect a dramatic transformation in the first season; this is a long-lived shrub that rewards patience with decades of reliable performance.
Flowering typically begins in late spring and continues through summer, with the heaviest flush of blooms in late spring or early summer depending on your climate. Some plants produce scattered blooms into early fall. The white flowers age to ivory or yellowish tones and release a strong, classic sweet fragrance, especially in the evening.
For more detailed care after planting, see the August Beauty Gardenia care guide, which covers watering schedules, fertilizing, and long-term pruning.
Planting Quick Reference
| Factor | Specification |
|---|---|
| Best Planting Time | Early spring or fall (avoid extreme heat or hard freezes) |
| USDA Zones | 7b-10 (zone 7b requires winter protection) |
| Sun Requirement | Full sun to part shade; morning sun and afternoon shade in hot climates |
| Soil pH | 5.0-6.5 (acidic) |
| Soil Type | Rich, well-drained, high in organic matter |
| Spacing: Specimen | 4-6 feet apart |
| Spacing: Hedge | 3-5 feet apart |
| Hole Depth | Equal to root ball depth, never deeper |
| Hole Width | 1.5 times the width of the root ball |
| Mulch Depth | 2-3 inches, keep 3-4 inches away from stem |
| First-Year Water Needs | About 1 inch per week; consistently moist, not waterlogged |
| Expected Bloom Time | 1-2 years from container plant; full size in 5-7 years |